
What a skylight installation looks like, step by step
By Priya Vogel, Editorial Lead · Updated 2026-10-13
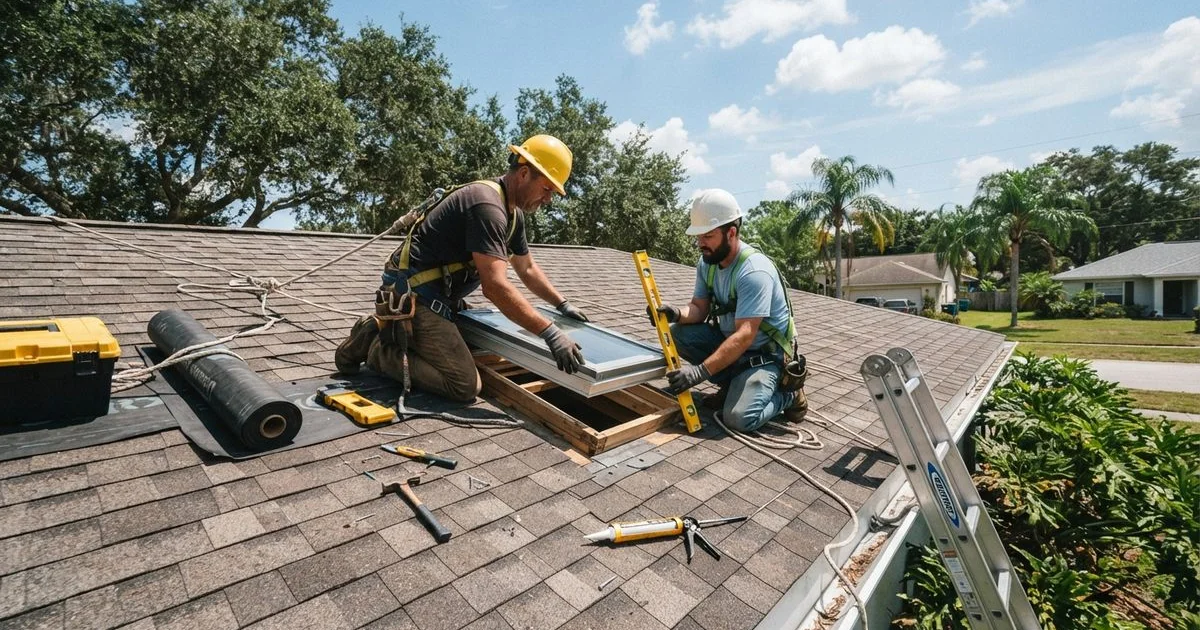
If you have never had a skylight installed, the process can feel like a black box. It is easier than it looks once you know the sequence. This guide covers a typical job so you know when to be home, what to move, and what to watch.
Before the day
Site visit and measurements
The contractor looks at the roof, attic, and ceiling below. They check rafter spacing, roof material, and where the shaft will run. This is where most of the price is decided, so it is the time to ask questions.
Quote, contract, and permit
Once you agree on a written scope, the permit is filed. Delivery of the unit can take time, so the date of the job may be weeks away.
The installation day
| Stage | What happens |
|---|---|
| Protection | Floors and furniture below are covered; the roof area is prepared |
| Layout and opening | The roof is marked and cut; framing is added or adjusted |
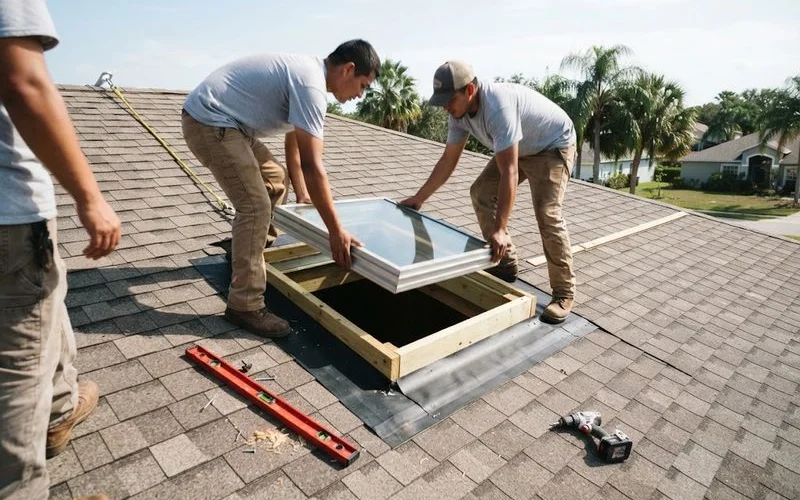
| Curb and unit | A curb is built or checked, and the unit is set |
| Flashing | Flashing is layered with the roof material so water sheds around the unit |
| Light shaft | Framing, insulation, and drywall connect the roof opening to the ceiling |
| Finish | Interior drywall finishing, paint, and cleanup |
| Inspection | A building inspector may check the work where a permit applies |
How long it takes
A swap of a skylight into an existing curb can be quick. A first-time installation that adds a shaft takes longer because carpentry, drywall, and painting happen in sequence. Weather and inspection scheduling can stretch the timeline. Ask for a start window and a realistic finish.
What you can do to help
- Clear the area below the opening.
- Move art and breakables.
- Keep pets away from the work zone.
- Tell the crew about attic access.
What good crews do
Customer reviews of local contractors often mention punctual crews, clean job sites, and careful cleanup. Those qualities are visible on the day: nails picked up, floors protected, and a clear walk-through at the end. Our rubric describes how we weigh that feedback.
After the install
Walk the job with the lead. Check the ceiling for finish quality, ask for the warranty paperwork, and keep the permit sign-off. Watch the unit during the first heavy rain.
Browse businesses doing this work on the skylight installation category. The full site is at the home page. If you have not chosen a unit yet, the guide to fixed, vented, or tubular skylights compares them.
Common surprises
Three things catch homeowners off guard. First, the lead time for the unit itself: custom or rated products are often ordered after the contract, so the job date follows delivery. Second, hidden conditions: once the roof is opened, the crew may find damaged decking or framing, and the scope changes. A contractor should explain that process before the day, not during it. Third, the finish work: drywall mud needs time to dry before paint, so the room can look unfinished for a day or two even when the roof is done.
Ask for these three answers in the contract and you will avoid most disputes.
This is general information about a typical project. Your roof may require different steps.
Questions people ask
- How long does a skylight installation take?
- A simple unit in an existing opening can be a day. A new opening with framing and a light shaft takes longer. Weather can add days.
- Will there be a mess inside?
- There can be dust, especially when a new ceiling opening is cut. Ask the crew how they protect floors and furniture.
- Do I need to be home?
- Usually someone should be available at the start and end of the day for access and to approve details.
- What happens if it rains mid-job?
- A good crew tarps the opening and reschedules. Ask in advance how they handle weather.